
Starting a Garden From Zero: A Practical First-Timer's Walkthrough

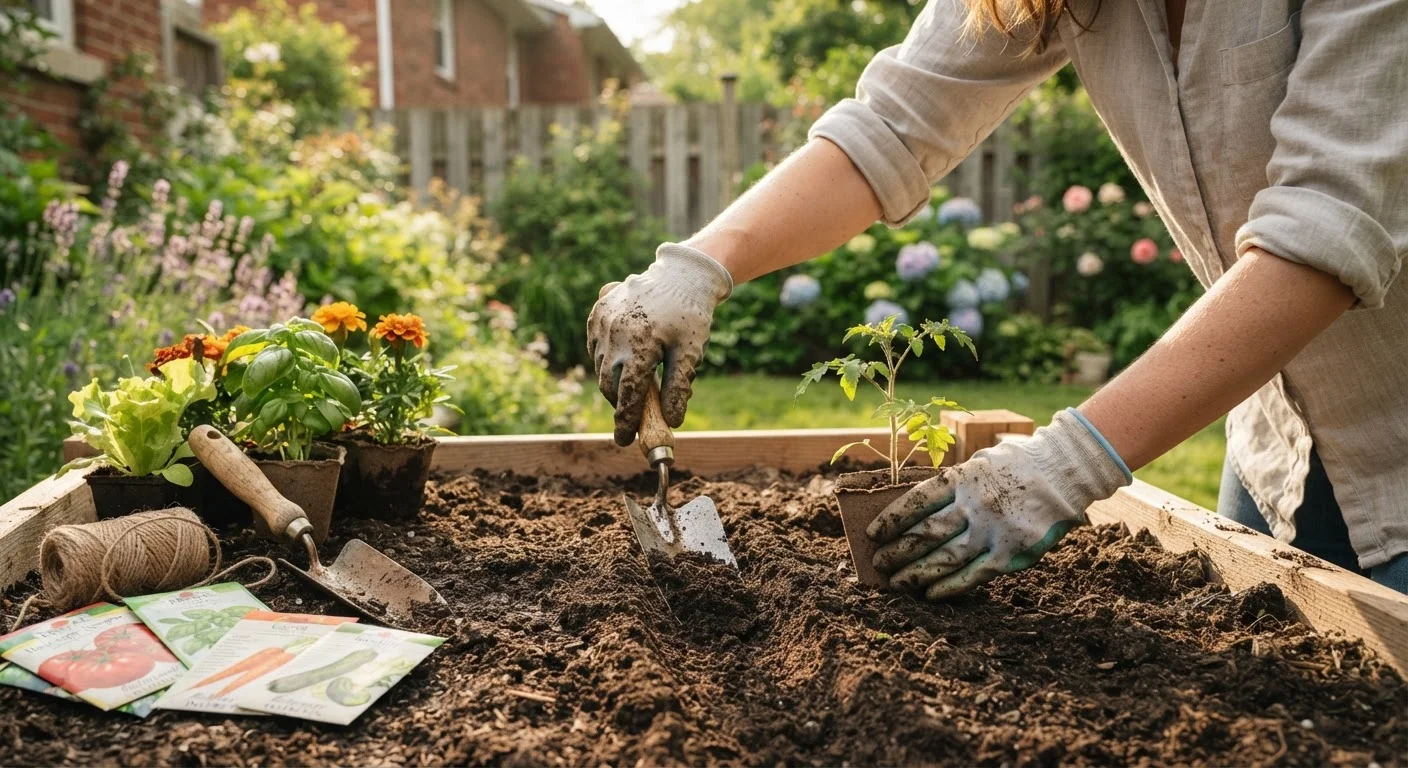
No experience needed. This guide covers choosing a spot, preparing the ground, selecting plants, and keeping them alive long-term.
Start here
Choosing the Right Spot
Next
Understanding and Preparing Your Soil
Then
Picking Plants That Match Your Conditions
Almost ready
Planting Day: Getting It Right From the Start
Ongoing
Keeping Your Garden Alive Long-Term
Key takeaways
- Sun exposure is the single most important factor when choosing where to garden.
- Improving soil before planting gives every plant a stronger foundation for healthy growth.
- Matching plant choices to your climate, light, and available time prevents most beginner failures.
- Consistent watering and early pest checks matter more than any specialized equipment.
- Starting small — even a 4×4 bed — builds confidence and teaches skills that scale up naturally.
Choosing the Right Spot
Before you buy a single plant or tool, spend time observing your outdoor space. The location you choose will influence nearly every outcome that follows — more than your watering schedule, more than the plants you pick, more than anything else you'll do.
Sun is the most critical variable. Most food-producing plants need six or more hours of direct sunlight per day. Ornamental beds can work with less, but shade cuts productivity significantly. Walk your yard at morning, midday, and late afternoon and note which areas stay sunny versus fall into shadow cast by buildings, fences, or trees.
Drainage matters just as much. Flat areas that collect standing water after rain can suffocate roots and invite disease. Look for spots with a gentle natural slope or ground that drains within a few hours of a heavy rain. If your yard drains poorly, a raised bed is often the most practical fix — it lifts the root zone above compacted or waterlogged soil entirely. Our container gardening guide is also worth reading if you're working with a balcony or patio.
Proximity to water is a practical concern beginners often underestimate. You will water your garden frequently, especially in summer. If hauling a hose or watering can from a distant spigot feels like a chore, it becomes one — and plants get skipped. Choose a spot within easy reach of an outdoor water source whenever possible.
Understanding and Preparing Your Soil
Healthy soil is the foundation every thriving garden is built on. Soil isn't just dirt — it's a living system of minerals, organic matter, air, water, and microorganisms that feed your plants from below. Most native yard soil needs some improvement before it's ready to support a productive garden.
Soil pH
A measure of how acidic or alkaline your soil is, on a scale of 1 to 14. Most vegetables and flowers grow best in slightly acidic to neutral soil, typically between 6.0 and 7.0.
Organic matter
Decomposed plant and animal material mixed into soil. It improves drainage in clay soils, helps sandy soils hold water, and feeds the microorganisms that make nutrients available to plant roots.
Hardiness zone
A geographic designation based on average minimum winter temperatures, used to predict which plants can survive outdoors in a given area year-round.
Mulch
A layer of material — such as wood chips, straw, or shredded leaves — spread on the soil surface to retain moisture, moderate soil temperature, and suppress weed growth.
Compost
Decomposed organic material made from kitchen scraps, yard waste, and other biodegradable items. Added to garden beds, it enriches soil with nutrients and improves its texture.
Transplant
A young plant that was started elsewhere — typically in a pot or tray — and moved into the garden. Transplants give you a head start over direct seeding for slow-growing crops.
Start with a basic soil test before you amend anything. It will reveal your soil's pH level and nutrient content, letting you correct actual deficiencies rather than applying amendments blindly. Many US cooperative extension offices offer low-cost testing. Our bed preparation checklist walks through this process in full detail.
For most garden beds, working 2–3 inches of compost into the top 8–10 inches of soil will meaningfully improve both drainage and nutrient availability. If you'd like to produce your own compost over time, composting at home explains how to get started with kitchen scraps and yard waste.
Avoid walking on your prepared bed — compacting soil collapses the air pockets roots depend on. Plan your bed dimensions so you can reach the center from the edge without stepping in.
Picking Plants That Match Your Conditions
The most common beginner mistake is choosing plants based on what looks appealing at the garden center rather than what actually suits their conditions. A beautiful plant in the wrong light, wrong soil, or wrong climate will struggle no matter how carefully it's tended.
Start by identifying your USDA Plant Hardiness Zone — a map-based system that tells you the average minimum winter temperature in your area. This determines which perennials will survive your winters and guides timing for annual crops. You can find your zone on the USDA website by entering your zip code.
Consider these factors when choosing what to grow:
- Sunlight available: Match plant requirements (full sun, part shade, full shade) to what your site actually receives.
- Your available time: Some plants — like tomatoes and roses — need regular attention. Herbs, native perennials, and many ornamental grasses are far more self-sufficient.
- Desired outcome: Are you growing food, flowers, or both? That shapes the entire plant selection.
- Realistic timeline: Understand whether starting from seed or buying seedlings fits your schedule and goals.
For first-timers, forgiving choices include zucchini, cherry tomatoes, basil, marigolds, and sunflowers. These give visible results quickly and tolerate minor mistakes in watering and feeding.
Planting Day: Getting It Right From the Start
Good planting technique takes minutes to learn and pays dividends all season. Rushing this step is where many beginners lose plants unnecessarily.
Time your planting around your last average frost date. Warm-season plants — tomatoes, peppers, cucumbers — should go in the ground only after frost risk has passed. Cool-season crops like spinach, peas, and broccoli can tolerate light frost and can be planted earlier. Check your local cooperative extension service for region-specific frost date guidance.
When you're ready to plant:
- Dig a hole slightly wider and deeper than the root ball or transplant cell.
- Gently loosen circling roots before placing the plant in the hole.
- Backfill with soil, firming lightly around the base to eliminate air pockets.
- Water thoroughly immediately after planting — this settles the soil and makes first contact between roots and surrounding ground.
- Apply a 2–3 inch layer of mulch around (not touching) the stem to retain moisture and suppress weeds.
Spacing matters more than beginners expect. Crowded plants compete for light, water, and nutrients — and poor airflow promotes disease. Follow the spacing guidance on the plant tag or seed packet even if young plants look small and far apart.
For a thorough pre-planting review, the new garden bed checklist is a practical companion to run through before you dig your first hole.
Keeping Your Garden Alive Long-Term
Planting is the exciting part. Maintenance is what turns a hopeful start into a productive season — and it's more routine than it sounds once you establish simple habits.
Build a Simple Watering Routine
Check your garden at the same time each day — early morning works well. A brief daily walk lets you catch watering needs, spot pest damage early, and notice which plants are thriving. Consistency takes the guesswork out of garden care and prevents small problems from becoming big ones.
Watering: Aim for about one inch of water per week. Deep, infrequent watering encourages roots to grow downward, making plants more resilient in dry spells. Morning watering is preferable — it lets foliage dry before evening, which reduces fungal disease risk.
Weeding: Small weeds are easy to pull; large established ones are not. A quick ten-minute pass through the garden once or twice a week prevents weeds from setting seed and multiplying.
Pest and disease monitoring: Check the undersides of leaves occasionally — many insects and early disease symptoms first appear there. Catching problems early keeps them manageable without resorting to heavy intervention.
Seasonal planning: Gardening is a year-round practice even in cold climates. The seasonal gardening calendar helps you understand what to do between your first planting and the following spring — from late-season harvesting to winterizing beds.
Give yourself permission to lose a plant or two — it happens to every gardener. Treat each setback as information. With each season, you'll read your garden's signals more fluently and spend less time troubleshooting and more time enjoying it.
Frequently Asked Questions
All published content on this website is for informational and educational purposes only and should not be taken as professional advice. We recommend that readers seek expert opinion before making any decisions. The website is not responsible for any actions taken based on the information provided on this website. We are not liable for any inaccuracies, modifications, or omissions in information. Moreover, external links or third-party content are provided for convenience; we are not liable for their correctness. Users are advised to verify every piece of information before they use it for any purpose.