
Before You Plant: A Preparation Checklist for New Garden Beds

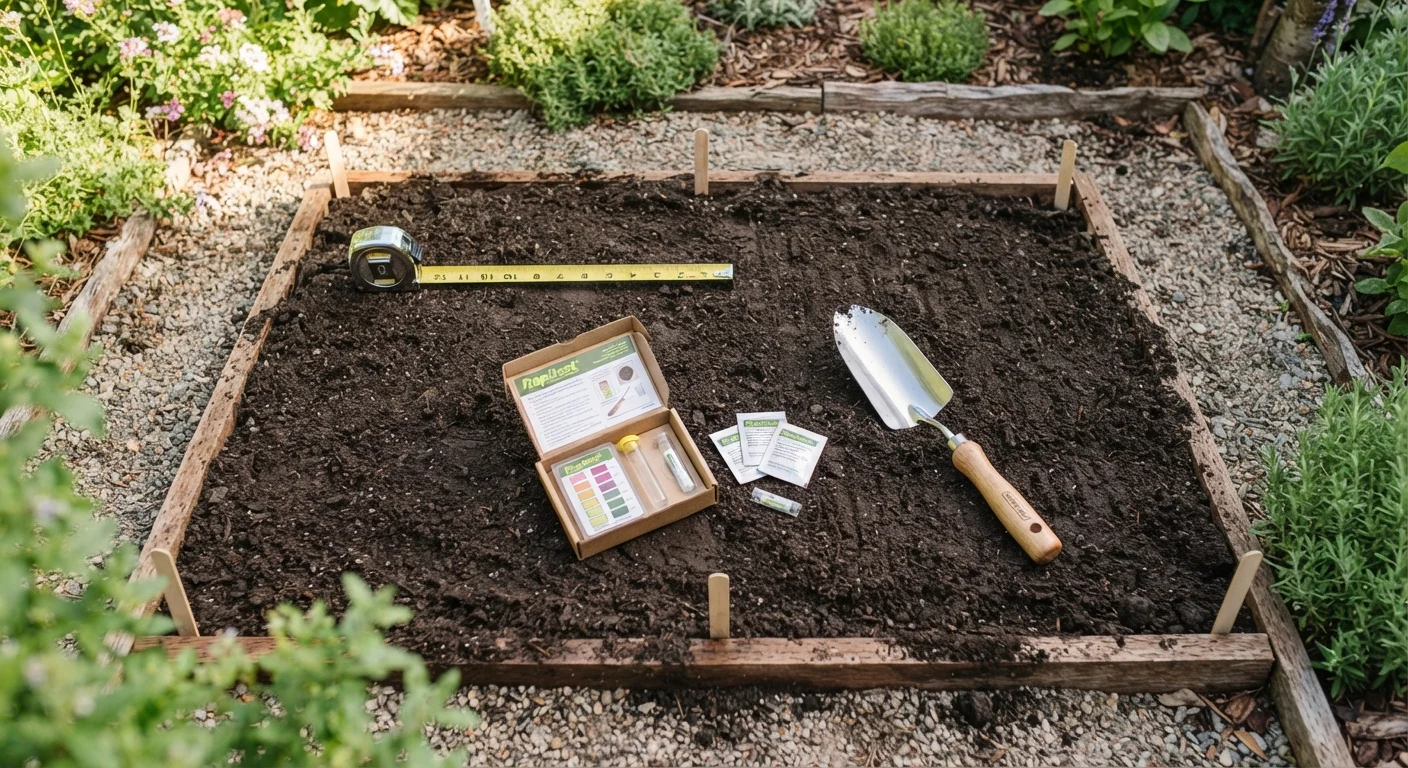
Run through this checklist before digging in — covering soil testing, drainage, sun exposure, spacing, and bed edging essentials.
Summary
18 items · 45–90 minutes
Key takeaways
- Soil testing before planting helps you correct nutrient and pH problems before they become plant failures.
- Sun exposure and drainage assessment are two of the most overlooked — and most critical — bed preparation steps.
- Proper bed edging and spacing reduce long-term maintenance and help plants thrive from day one.
- Skipping preparation steps is one of the most common reasons new garden beds underperform.
- Most preparation tasks require only basic tools and a modest time investment upfront.
Why Preparation Makes or Breaks a New Garden Bed
Most gardening disappointments — stunted plants, poor harvests, persistent weeds — trace back to skipped preparation steps rather than bad luck or a missing green thumb. Soil that drains poorly, a site that gets too little sun, or pH levels that lock out nutrients will undermine even the most carefully chosen plants.
This checklist walks you through every meaningful step before you sink a single transplant or scatter a seed. Whether you're converting a patch of lawn, building raised beds, or carving out a new border, these items apply. For anyone starting completely from scratch, our first-timer's garden walkthrough covers the broader process of choosing your spot and selecting plants — use it alongside this checklist.
Work through each group below and check off items as you go. Some tasks, like soil testing, take a few days to return results, so plan your preparation window accordingly.
Soil test kit or cooperative extension service
Determines pH and nutrient levels so amendments are targeted rather than guesswork.
Garden spade or edging tool
Defines clean bed edges and turns over existing sod or compacted soil.
Measuring tape
Ensures bed width stays accessible and that plant spacing matches recommendations.
Compost or aged organic matter
Improves soil structure, drainage, and fertility before the first plant goes in.
Mulch (straw, shredded leaves, or wood chips)
Applied after preparation to conserve moisture and slow weed germination.
Garden fork or tiller
Loosens compacted subsoil and helps mix amendments deeply and evenly.
Soaker hose or drip irrigation kit
Delivers water efficiently at the root zone, reducing waste and fungal disease risk.
The Full Preparation Checklist
The checklist below is organized into four logical stages: site assessment, soil preparation, bed structure, and pre-planting planning. Move through them in order — each stage informs the one that follows.
Site Assessment
Soil Testing and Amendment
Bed Structure and Edging
Pre-Planting Planning
Always Call Before You Dig
In the US, dialing 811 connects you to the national Call Before You Dig service, which will send a locator to mark underground utility lines at no cost — typically within 2–3 business days. Striking a buried gas, electric, or water line while digging a garden bed can cause serious injury or significant property damage. This step is non-negotiable for any new in-ground bed, regardless of depth.
Once you've worked through the checklist, refer to our seasonal gardening calendar to align your planting timeline with your local climate. Timing matters just as much as preparation, and the two work together.
If your available outdoor space is limited, it's worth knowing that many of these same preparation principles apply to containers. Our guide to container gardening in small spaces explains how to adapt soil, drainage, and plant selection for pots and planters on balconies or patios.
All published content on this website is for informational and educational purposes only and should not be taken as professional advice. We recommend that readers seek expert opinion before making any decisions. The website is not responsible for any actions taken based on the information provided on this website. We are not liable for any inaccuracies, modifications, or omissions in information. Moreover, external links or third-party content are provided for convenience; we are not liable for their correctness. Users are advised to verify every piece of information before they use it for any purpose.