
Why DIY Tile Jobs Fail Before They're Even Grouted

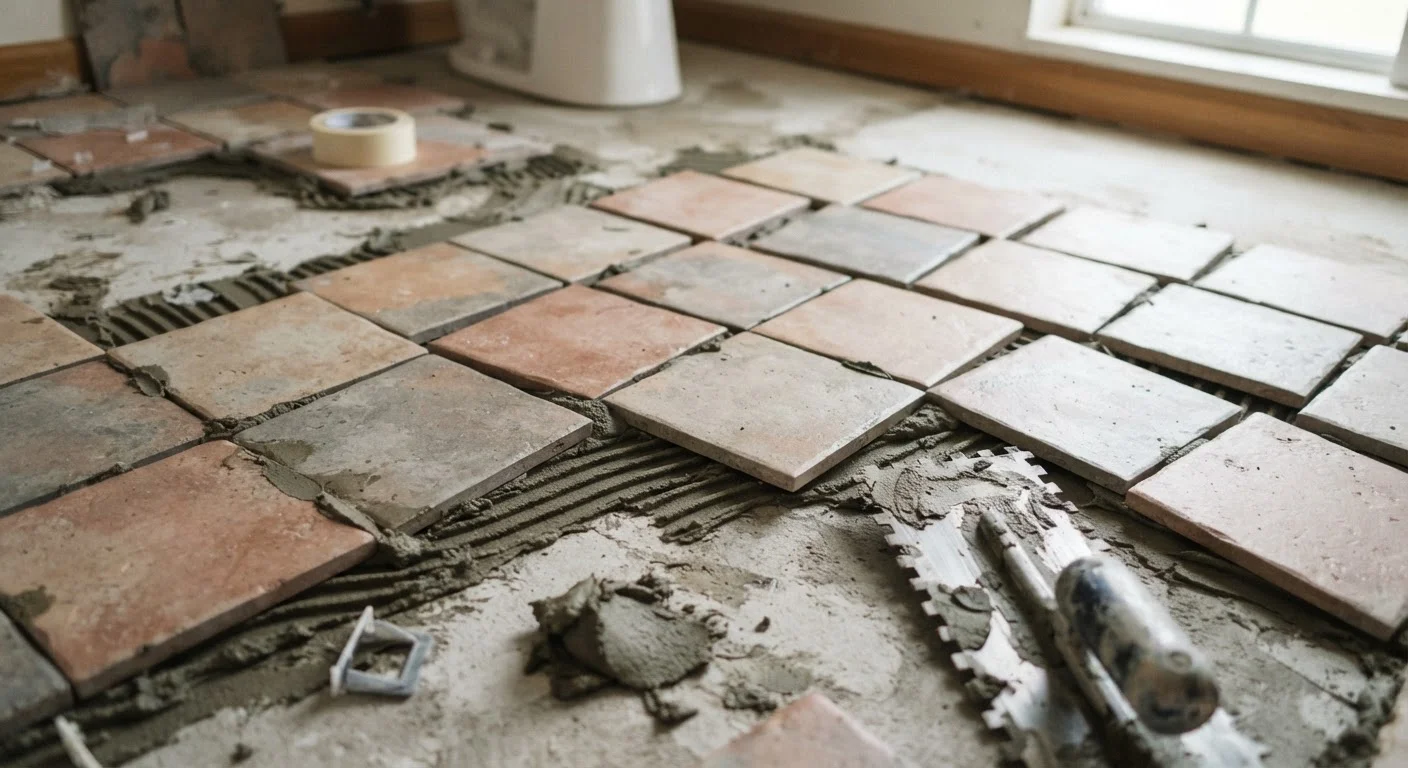
Uneven substrates, wrong adhesive, rushed grouting — the errors that ruin tile projects often happen in the first hour. Here's what to watch for.
Key takeaways
- A flat, stable substrate is the single most important factor in a lasting tile installation.
- Using the wrong tile adhesive for the surface or tile type is one of the most common — and costly — mistakes.
- Skipping layout planning before setting a single tile leads to awkward cuts and off-center results.
- Pressing tiles into adhesive without achieving full back coverage causes cracking and loose tiles over time.
- Rushing the adhesive cure time before grouting undoes even a well-executed installation.
The Real Reason Tile Projects Go Wrong
Walk into any home improvement forum and you'll find the same story repeated: someone set tile over a weekend, admired the result, then watched grout crack, tiles lift, or edges chip within a few months. The frustrating truth is that most of these failures were locked in before the first tile was ever pressed into place.
Tiling rewards methodical prep and punishes shortcuts ruthlessly. Unlike painting — where a poor first coat can be corrected with a second — tile installation has very little margin for error once adhesive cures. Understanding where the process typically breaks down is the most practical thing a DIYer can do before picking up a trowel. For a broader look at renovation assumptions that lead people astray, see our piece on home improvement myths that cost homeowners time and money.
Common Mistakes That Ruin Tile Jobs Early
The errors below are not obscure edge cases — they show up consistently in failed DIY tile projects across bathrooms, kitchens, and entryways. Each one is avoidable with a bit of planning.
Installing tile over a substrate that is uneven, soft, or structurally compromised.
Why it happens: Homeowners focus on the tile itself and underestimate how much the surface beneath it matters. An old vinyl floor or unchecked subfloor flex is easy to overlook.
Choosing the wrong adhesive for the tile size, tile type, or installation environment.
Why it happens: Adhesive packaging is not always intuitive, and many DIYers default to whatever is on sale or most familiar without checking compatibility.
Skipping a dry layout and starting to set tile from a corner or random starting point.
Why it happens: Corners feel like logical starting points, but rooms are rarely perfectly square. Starting there without planning often results in awkward partial tiles in the most visible spots.
Applying adhesive in dabs rather than using a notched trowel to achieve full back coverage.
Why it happens: Spot-tacking feels faster and seems to hold the tile in place, so it's tempting — especially when working overhead or on walls.
Grouting before the tile adhesive has fully cured.
Why it happens: Once tiles look set and solid to the touch, it's tempting to move on. Adhesive can feel firm on the surface while still curing underneath.
If you're approaching tiling as your first significant DIY project, the foundational habits covered in what every first-time DIYer needs to know before starting any project apply directly here.
Substrate and Adhesive: Where Most Failures Begin
Wet Area Substrates Require Special Attention
Standard drywall — even moisture-resistant 'green board' — is not an appropriate substrate behind tile in showers or tub surrounds. When wet, it can deteriorate and lose structural integrity, causing tiles to detach. Cement backer board or a waterproof tile backer panel rated for immersion is the correct choice in these locations. If you're unsure whether your existing substrate is appropriate, consult a licensed tile contractor before proceeding.
The substrate — the surface beneath the tile — must be flat (within roughly 3/16 of an inch over a 10-foot span), structurally sound, and free of flex. Floors that bounce slightly underfoot, walls with soft drywall behind shower areas, or surfaces with old adhesive residue will all compromise the bond. Cement backer board is the standard substrate choice for wet areas like showers and tub surrounds because it does not deteriorate when exposed to moisture, unlike standard drywall.
Adhesive selection is equally critical. Mastic adhesive — common, inexpensive, and easy to use — softens when wet, making it unsuitable for shower walls or steam environments. Modified thin-set mortar is the appropriate choice for most wet installations. Large-format tiles (generally those with any side longer than 15 inches) benefit from a medium-bed mortar formulated for their weight. Reading the adhesive manufacturer's specifications is not optional — it's the step that saves the project.
Layout, Back Coverage, and Cure Time
Layout planning feels like overhead, but it determines whether the finished room looks intentional or improvised. A dry layout — arranging tiles without adhesive to map out the pattern, identify cut locations, and center the design in the space — takes an hour and prevents days of regret. The goal is to avoid ending up with a sliver of tile in a highly visible corner or an asymmetric pattern that draws the eye for all the wrong reasons.
Back coverage refers to how much of the tile's underside actually makes contact with the adhesive. Industry guidelines generally call for at least 80% coverage on walls and 95% in wet or exterior areas. The way to achieve this is by using a notched trowel correctly: comb the adhesive in a single consistent direction, then press and slightly twist each tile as you set it. Spot-tacking — plopping small dabs of adhesive at the corners — leaves hollow voids beneath the tile that allow it to crack under foot traffic or point loads.
Once tiles are set, adhesive needs adequate time to cure before grouting begins. This varies by product, but most thin-set mortars require 24 hours under normal conditions; some require longer in cool or humid environments. Grouting too soon disrupts the bond before it's fully formed. On the grouting side itself, choosing the right joint filler matters too — our guide on grout vs. caulk explains why the boundary between these two materials is more important than most people realize.
At changes in plane — where a tiled floor meets a tiled wall, or where tile meets a bathtub — caulk, not grout, belongs in the joint. These locations experience movement as the building shifts with temperature and humidity. Grout is rigid and will crack. Flexible caulk accommodates that movement. For the full picture on getting that seal right, see caulking a bathroom properly.
All published content on this website is for informational and educational purposes only and should not be taken as professional advice. We recommend that readers seek expert opinion before making any decisions. The website is not responsible for any actions taken based on the information provided on this website. We are not liable for any inaccuracies, modifications, or omissions in information. Moreover, external links or third-party content are provided for convenience; we are not liable for their correctness. Users are advised to verify every piece of information before they use it for any purpose.