
What Every First-Time DIYer Needs to Know Before Starting Any Project

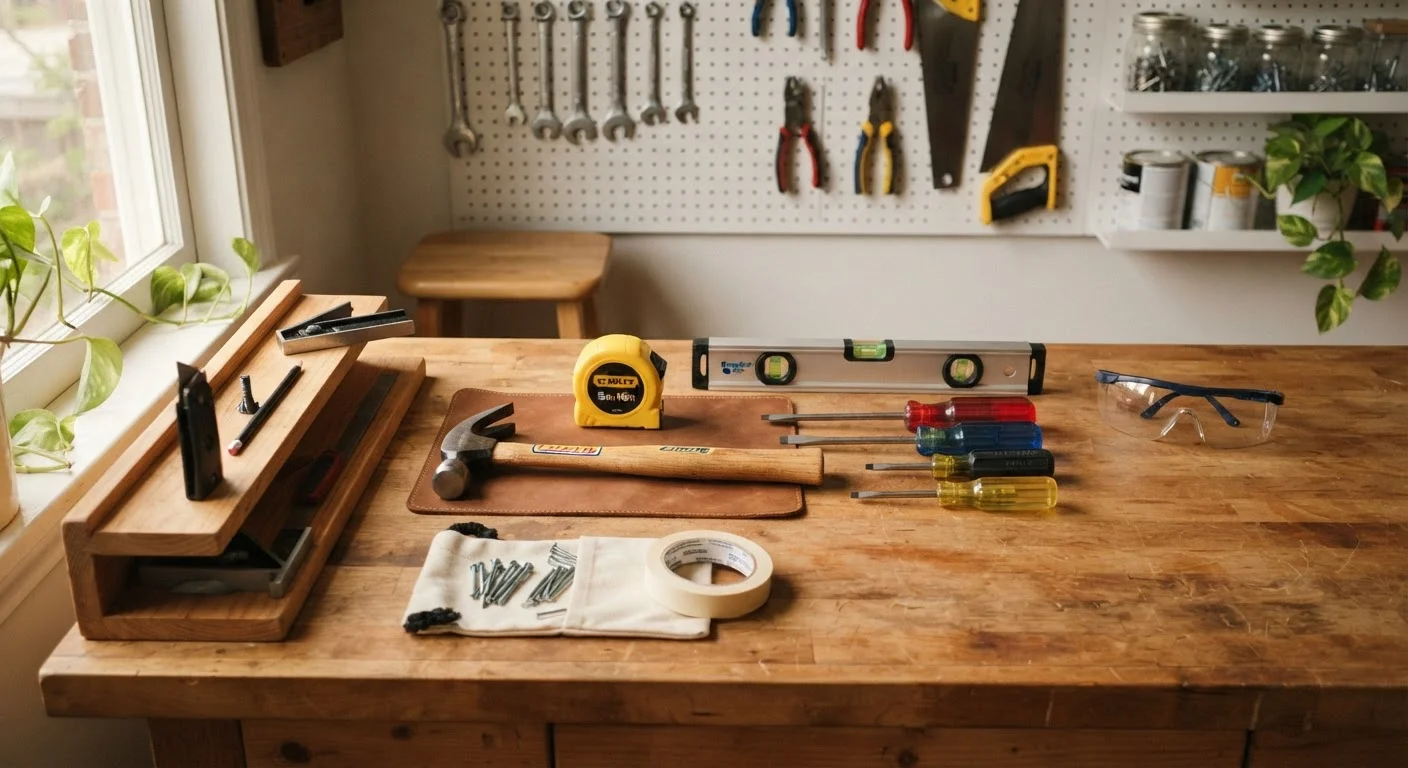
Tools, safety habits, reading plans, and knowing your limits — a foundational guide for homeowners approaching DIY for the first time.
Start here
Build Your Starter Toolkit the Right Way
Next
Read the Plan Before You Touch a Tool
Then
Safety Habits That Protect You Every Time
Important boundary
Know When to Call a Professional
Put it into practice
Starting Small: Your First Project Checklist
Key takeaways
- A focused set of versatile hand tools is more useful than a large, mismatched collection.
- Reading the full project plan before starting prevents costly mid-project surprises.
- Personal protective equipment should be worn consistently, not just for "dangerous" steps.
- Electrical, structural, gas, and load-bearing work typically requires a licensed professional.
- Starting with small, low-stakes projects builds real confidence and transferable skills.
Build Your Starter Toolkit the Right Way
One of the most common first-timer mistakes is buying tools reactively — grabbing whatever a project seems to need at that moment, project after project, until you end up with a garage full of redundant or poor-quality items. A better approach is to build a small, deliberate core kit that handles the widest range of tasks.
Your baseline hand-tool kit should include:
- 25-foot tape measure — long enough for room-scale measurements
- Claw hammer — 16 oz is a versatile weight for most homeowners
- Combination square — marks 90° and 45° angles accurately
- Utility knife with spare blades — cuts drywall, cardboard, rope, and more
- Set of flathead and Phillips screwdrivers — multiple sizes matter
- Needle-nose and slip-joint pliers
- 4-foot level — longer levels reveal errors that short ones miss
- Cordless drill-driver — a single tool that handles drilling and driving
Resist buying power tools you don't yet have a specific use for. A jigsaw, circular saw, or orbital sander are genuinely useful — once you have a project that calls for them. Buying ahead of need means learning a tool in a hurry, which is when accidents happen.
PPE (Personal Protective Equipment)
Gear worn to protect your body during a task — including safety glasses, gloves, hearing protection, and dust masks. Each item guards against a specific type of injury.
Combination square
A hand tool that slides along a blade to mark both 90-degree and 45-degree angles accurately on wood, drywall, or other materials.
Building permit
Official approval from your local government required before starting certain types of construction or renovation work. It ensures the project will be inspected for code compliance.
Load-bearing wall
A wall that carries structural weight from floors or the roof above it, transferring that load to the foundation. Removing or altering one without professional guidance can compromise your home's structure.
Overage allowance
The extra 10–15% of materials added to an order to account for cutting waste, mistakes, and future touch-ups. It's standard practice on any material-cutting project.
Stud finder
An electronic tool that detects wooden or metal framing members (studs) behind walls, helping you locate safe anchor points for hanging heavy items or identifying where not to cut.
Read the Plan Before You Touch a Tool
Experienced DIYers have a saying: measure twice, cut once. The underlying principle goes further — understand the entire project before you begin any part of it. Reading through instructions from start to finish before picking up a single tool is one habit that separates tidy outcomes from expensive do-overs.
When reviewing a project plan, look for:
- The complete materials list. Price everything out and add a 10–15% buffer for waste and mistakes before purchasing.
- Steps that require curing, drying, or setting time. Tile adhesive, paint, wood filler, and caulk all need time you can't rush. Missing this detail mid-project can halt work for hours or days.
- Tool requirements you don't own. Renting a specialty tool for a weekend is almost always less expensive than buying one you'll use once.
- Any mention of permits or inspections. If the instructions reference local codes or inspections, that's a signal to contact your local building department before you start — not after.
Sketching a rough diagram of the finished result — even a basic pencil drawing — forces you to think spatially about each step. It's also a practical way to double-check measurements before any materials are cut or purchased. If you're approaching a decorating project alongside the physical work, our guide interior decorating for absolute beginners covers how to plan a room before committing to changes.
Safety Habits That Protect You Every Time
Safety equipment works only when it's actually worn — that sounds obvious, but most home-workshop injuries happen during routine tasks, not obviously dangerous ones. Make putting on safety glasses and gloves as automatic as putting on shoes before leaving the house.
Core personal protective equipment (PPE) for beginner DIYers:
- Safety glasses or goggles — required any time you're cutting, drilling, sanding, or working overhead
- Work gloves — protect against splinters, sharp edges, and abrasion; use task-appropriate types (leather for handling materials, cut-resistant for blades)
- Hearing protection — foam earplugs or earmuffs for any power tool use lasting more than a few minutes
- N95 dust mask or respirator — essential when cutting wood, sanding, or disturbing old paint or insulation
- Closed-toe, non-slip footwear — steel-toed boots are ideal; sneakers are not suitable on any work site
Set Up a Dedicated Safety Station
Keep all your PPE together in one visible spot in your work area — a hook, a shelf, or a labeled bin. When your glasses and gloves are easy to grab, you're far more likely to wear them every time. Storing them alongside your most-used tools reinforces the habit.
Beyond PPE, a few environmental habits matter: keep your work area clear of tripping hazards, ensure adequate lighting, and never work with power tools when you're fatigued. Fatigue slows reaction time and reduces the careful attention that prevents errors. If you're not feeling sharp, the project can wait.
One more precaution worth building in: before drilling or cutting into any wall, ceiling, or floor, use a stud finder and a wire/pipe detector. Cutting into a live electrical wire or a water pipe is a serious hazard and an expensive repair.
Know When to Call a Professional
Part of being a capable DIYer is knowing which projects belong in the hands of licensed professionals. This isn't a limitation — it's sound judgment, and experienced homeowners practice it routinely.
As a general rule, the following categories of work should involve a licensed contractor, electrician, or plumber:
- Electrical panel work — installing or modifying circuits, the breaker box, or service entrance
- Gas lines — any work involving gas piping, fittings, or appliance connections
- Load-bearing walls and structural elements — removing or modifying walls that carry the weight of floors or roofing above
- Roofing — beyond minor surface repairs, roofing involves fall risk and warranty considerations
- Plumbing connections to the main supply or drain stack — replacing a faucet or showerhead is DIY-friendly; connecting to supply mains typically is not
Permits are another signal. Most jurisdictions require permits for work that changes your home's electrical, plumbing, HVAC, or structural systems. Unpermitted work can complicate home sales, void insurance claims, and — most importantly — leave you with work that hasn't been verified as safe. Always check with your local building department first.
If you're budgeting for home improvements and want to weigh DIY versus professional costs realistically, a solid personal budget framework helps you plan confidently. Our first-month budgeting guide walks through the foundational concepts.
Starting Small: Your First Project Checklist
The most effective way to build DIY confidence is to complete a small project well — not to attempt an ambitious one and struggle through it. Good first-project candidates include: patching a drywall nail hole, replacing a door handle or cabinet hardware, sealing a drafty window with weatherstripping, or painting a single accent wall.
Before you begin any project, run through this checklist:
- Have I read the full instructions at least once end-to-end?
- Do I have every tool and material the project requires?
- Have I checked whether this work requires a permit?
- Is my work area clean, well-lit, and free of tripping hazards?
- Do I have appropriate PPE on hand and within reach?
- Have I told someone what I'm working on, especially if using power tools alone?
Each completed project — even a small one — adds a real skill to your repertoire. You'll learn how materials behave, how long tasks actually take, and which tools you reach for repeatedly. That accumulated knowledge compounds: the second project is always less uncertain than the first.
If the next step on your list is expanding your outdoor space, the same methodical approach applies to gardening and landscaping. Our practical first-timer's garden walkthrough takes you from bare ground to a working garden bed using the same step-by-step mindset.
Frequently Asked Questions
All published content on this website is for informational and educational purposes only and should not be taken as professional advice. We recommend that readers seek expert opinion before making any decisions. The website is not responsible for any actions taken based on the information provided on this website. We are not liable for any inaccuracies, modifications, or omissions in information. Moreover, external links or third-party content are provided for convenience; we are not liable for their correctness. Users are advised to verify every piece of information before they use it for any purpose.