
Grout vs. Caulk: Knowing Which One Belongs Where in a Tiled Room

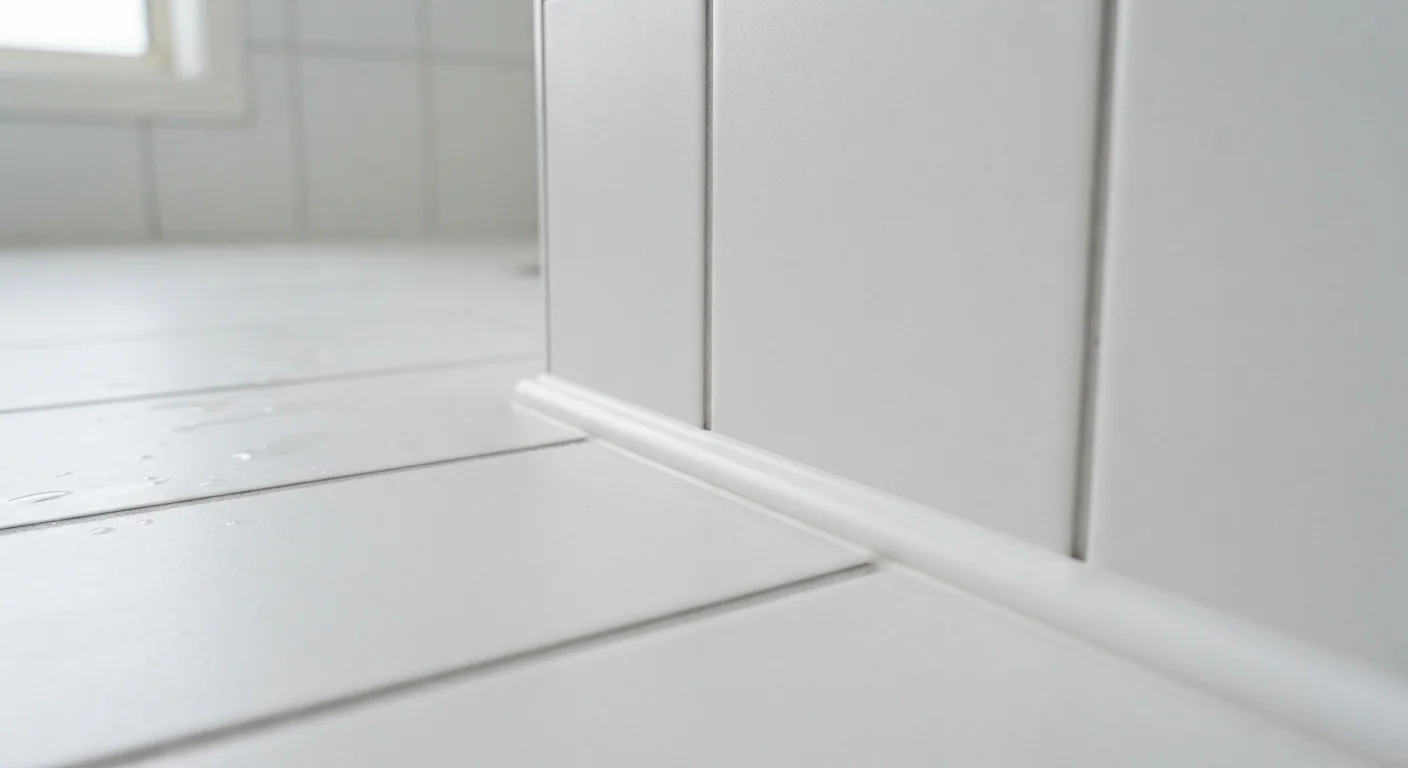
Using the wrong material in a tile joint causes leaks and cracking. Understand where each belongs and why the boundary matters.
Option A
Grout
The rigid, structural fill for tile-to-tile joints.
Best for: Filling uniform gaps between tiles on flat, stable surfaces where movement is minimal.
Option B
Caulk
The flexible, waterproof seal for movement-prone joints.
Best for: Sealing corners, changes of plane, and any joint where two surfaces meet at an angle or flex independently.
Key takeaways
- Grout is rigid and works between tiles on the same flat plane; caulk is flexible and belongs at corners and transitions.
- Using grout where caulk should go leads to cracking as the structure moves with temperature and humidity changes.
- Caulk must be applied over a clean, dry, grout-free surface to bond correctly and resist moisture.
- Color-matched caulk products are available to blend seamlessly with your existing grout.
- Replacing failed grout in a corner with caulk is a legitimate, code-consistent repair — not a shortcut.
Why This Distinction Actually Matters
Walk into almost any home improvement store and you'll find grout and caulk displayed in the same aisle, often in matching colors. That proximity can suggest they're interchangeable — they're not. Using the wrong one in the wrong place is one of the most common reasons tile installations fail, and the damage often hides behind walls long before it becomes obvious.
The core difference is mechanical behavior. Grout is a cementitious (cement-based) material. Once cured, it is essentially rigid. That rigidity is exactly what you want between tiles on a flat surface, where movement is negligible and you need a fill that won't compress or dent. Caulk, by contrast, is a polymer-based sealant — silicone, latex, or a blend — designed to flex, stretch, and compress without losing its bond or cracking. It's built to accommodate movement.
Every building, every room, and every tile installation moves. Structures settle. Humidity causes materials to expand and contract. A bathtub flexes when you step in. Understanding which joints are stable and which ones move is the key to choosing the right material — and preventing the leaks and repairs that follow a wrong choice. For a deeper look at why tile projects can go wrong from the very start, see why DIY tile jobs fail before they're even grouted.
Where Grout Belongs — and Why
Grout is the correct fill for the joints between tiles that share the same plane — think the field of a shower wall, a kitchen backsplash, or a bathroom floor. These are joints where the surrounding tiles are bonded to the same substrate and move together. The grout's job here is to fill the space cleanly, resist abrasion and moisture penetration, and give the installation a finished, cohesive look.
There are two main types of grout: sanded and unsanded. Sanded grout contains fine aggregate and is used for joints wider than about 1/8 inch; unsanded grout is smoother and suited for narrower joints, as well as for polished stone tiles that sanded grout could scratch. Epoxy grout is a third category — harder and more stain-resistant — but it requires more skill to apply and is typically reserved for commercial or high-demand environments.
| Criterion | Grout | Caulk |
|---|---|---|
| Material composition | Cement-based (or epoxy) | Silicone, latex, or hybrid polymer |
| Flexibility when cured | Rigid | Flexible and compressible |
| Primary location | Between tiles, same flat plane | Corners, transitions, plane changes |
| Handles movement | No — cracks under stress | Yes — stretches and compresses |
| Waterproofing | Moderate (can be sealed) | High — bonds to form a watertight seal |
| Typical lifespan in corners | Months before cracking | Several years with proper prep |
| Color matching | Wide color range available | Sanded caulk matches most grout colors |
Grout does not belong in any joint that changes direction or where two separate structural components meet. Trying to force grout into those locations doesn't just look bad — it creates a ticking clock. The inevitable movement will cause the grout to crack, often within a single season of temperature and humidity cycling, opening a direct path for water to travel behind the tile.
Where Caulk Belongs — and Why
The rule of thumb used by professional tile setters is straightforward: any joint where two planes change direction gets caulk, not grout. The most common locations in a tiled room include:
- Inside corners — where a wall meets the floor, or where two walls meet in a shower enclosure
- The tub-to-tile joint — the horizontal line where tile meets the rim of a bathtub or shower base
- Transitions to fixtures — around the base of a toilet, around pipe penetrations, and where tile meets a countertop edge
- Expansion joints in large tile fields — any grout joint that runs more than 8 to 12 feet in a single direction typically benefits from a caulk-filled expansion joint to accommodate thermal movement
For caulk to seal correctly, the surface must be clean, dry, and free of old grout or caulk residue. Applying caulk over debris or moisture is a leading cause of premature failure. Our detailed guide on caulking a bathroom correctly covers surface preparation, product selection, and technique in depth.
Color-matched sanded caulks are widely available and are specifically formulated to blend with standard grout colors, so a properly applied caulk joint in a corner is virtually indistinguishable from a grouted joint — and far more durable in that location.
Repairing the Mistake: Replacing Cracked Corner Grout With Caulk
If you've noticed cracking grout in your shower corners or along the tub line, replacing it with caulk isn't a workaround — it's the industry-standard correct repair. Here's a general approach:
- Remove all existing grout or caulk from the joint using an oscillating tool, a grout saw, or a utility knife. Work carefully to avoid scratching adjacent tiles.
- Clean the joint thoroughly. Remove dust, soap scum, and any mold or mildew. Allow the area to dry completely — at least 24 hours, longer in humid conditions.
- Apply painter's tape on both sides of the joint to keep lines clean.
- Apply the caulk in a steady, continuous bead, then tool it smooth with a wet fingertip or a caulk-finishing tool. Remove tape before the caulk skins over.
- Allow full cure time before exposing the joint to water — this varies by product, so read the label carefully.
A Note on Mold-Resistant Caulk Formulas
For wet areas like showers and tub surrounds, look for caulk products labeled as mold- or mildew-resistant. These formulations incorporate antimicrobial additives that help slow mold growth on the surface of the cured caulk. They don't eliminate the need for regular cleaning, but they do extend the time before discoloration becomes a problem. Always verify that any product you choose is rated for wet or submerged applications before using it in a shower or tub joint.
One application of this repair is enough to last years when done correctly. The grout was never the right material for that corner; replacing it with caulk resolves the underlying mismatch, not just the symptom.
All published content on this website is for informational and educational purposes only and should not be taken as professional advice. We recommend that readers seek expert opinion before making any decisions. The website is not responsible for any actions taken based on the information provided on this website. We are not liable for any inaccuracies, modifications, or omissions in information. Moreover, external links or third-party content are provided for convenience; we are not liable for their correctness. Users are advised to verify every piece of information before they use it for any purpose.