
Installing a Programmable Thermostat Without an Electrician

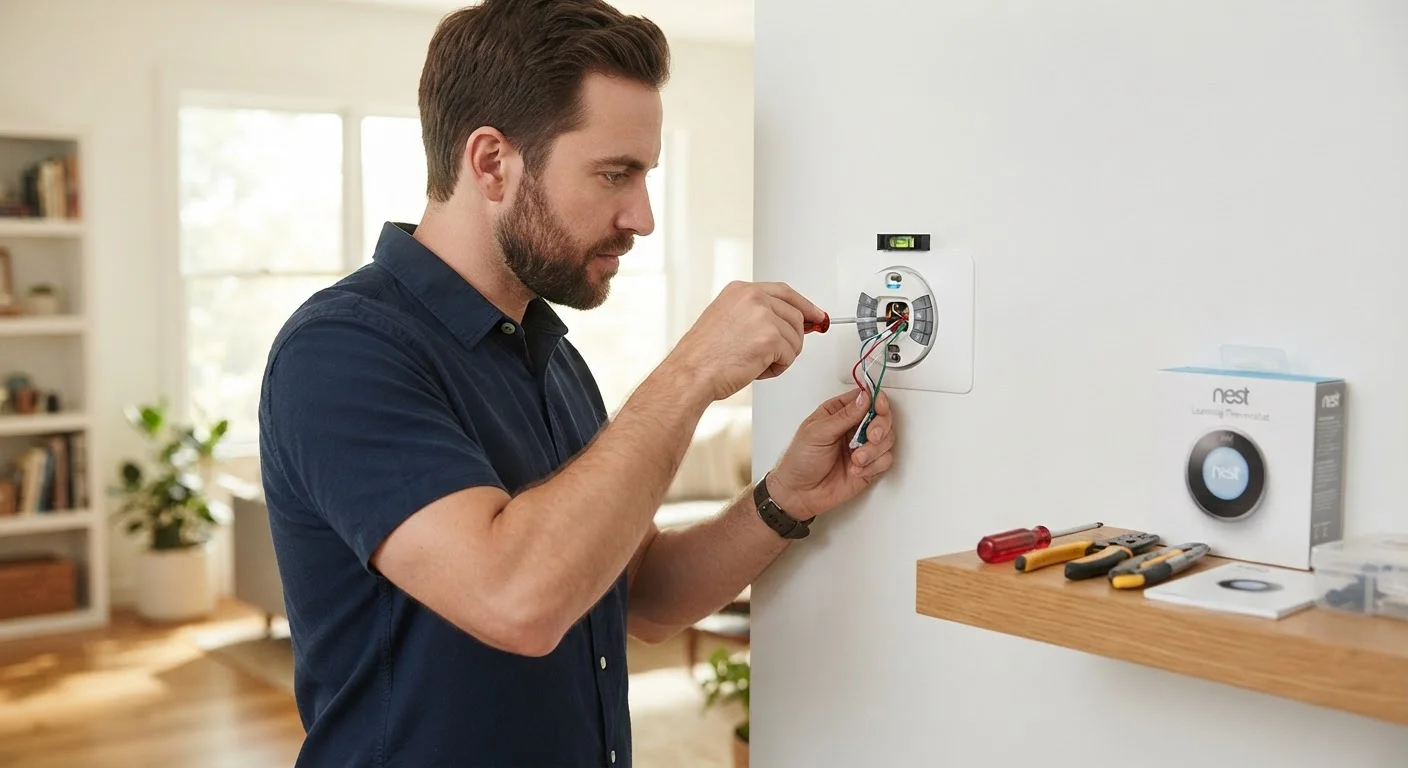
Swapping a thermostat is one of the more accessible DIY electrical tasks. This guide covers wiring basics, compatibility checks, and safety steps.
Key takeaways
- Always turn off power at the breaker before touching any thermostat wiring.
- Photograph your existing wiring before disconnecting anything — your best reference.
- Compatibility between your HVAC system and a new thermostat must be confirmed first.
- Most standard forced-air systems use labeled wires that are straightforward to transfer.
- A C-wire (common wire) is required by most modern programmable thermostats.
What You Need Before You Start
Replacing a thermostat is one of the more approachable DIY electrical tasks a homeowner can tackle — no license required in most jurisdictions, and no high-voltage wiring involved. Thermostat circuits typically run on 24-volt low-voltage power, which is far safer to work around than a standard 120V outlet. That said, safe habits still matter, and preparation is what separates a smooth swap from a frustrating afternoon.
What you will need
Non-contact voltage tester
Confirms that power is off at the thermostat wires before you begin working.
Flathead and Phillips screwdrivers
Removes the old thermostat and wall plate, and tightens terminal screws on the new unit.
Wire stripper
Exposes fresh copper on wire ends if the existing insulation is cut back too far or looks damaged.
Needle-nose pliers
Helps bend wire ends into small hooks for screw terminals and retrieves wires that slip into the wall.
Masking tape and marker
Labels each wire with its terminal letter before disconnection, preventing mix-ups during reinstallation.
Smartphone or camera
Documents existing wiring with clear photographs before any wires are removed.
Pencil or pen
Used as a temporary anchor to keep wires from retracting into the wall while you work.
Understanding Thermostat Wiring Basics
Thermostat wires are thin, color-coded conductors that carry 24V signals between the thermostat and your HVAC control board. Each wire connects to a labeled terminal — knowing what those labels mean makes the entire job readable.
- R or Rh / Rc — Power from the transformer. Rh powers heating; Rc powers cooling. Some systems use a single R wire with a jumper.
- W / W1 — Heating signal (triggers the furnace or boiler).
- Y / Y1 — Cooling signal (triggers the compressor).
- G — Fan signal (runs the blower independently).
- C — Common wire. Completes the 24V circuit and provides continuous power to smart and programmable thermostats. Not all older systems have this wire run to the wall, but it's often present inside the furnace.
- O / B — Used by heat pumps to control the reversing valve.
Your existing thermostat's terminal labels are the definitive guide. Before touching a single wire, photograph both the wiring at the thermostat and the label on your HVAC system's air handler or furnace. If your new thermostat's installation guide uses different wire colors than what you see, always follow terminal letters — not colors, which can vary between installers.
Checking Compatibility
Not every programmable thermostat works with every HVAC system. Key compatibility questions to answer before purchasing:
- System type: Is your system a conventional forced-air setup (furnace + central AC), a heat pump, a multi-stage system, or a boiler with radiant heat? Heat pumps and multi-stage systems require thermostats specifically rated for them.
- C-wire availability: Most modern programmable thermostats need a C-wire for continuous power. Check whether you have one by removing your current thermostat faceplate and inspecting the terminals. A wire tucked behind the wall plate but not connected still counts — you may be able to repurpose it.
- Voltage: Confirm your system is low-voltage (24V). Electric baseboard heaters, for example, use line-voltage thermostats (120V or 240V), which are an entirely different category requiring a line-voltage-rated model.
- Millivolt systems: Older gravity furnaces or gas fireplaces sometimes use millivolt thermostats (no external transformer). These also require a compatible model.
The thermostat's packaging or product page will list compatible system types. If you are uncertain after reviewing your wiring, consult an HVAC technician before purchasing.
Step-by-Step Installation
Once you've confirmed compatibility and gathered your tools, follow these steps carefully. Work methodically — there's no rush.
Turn Off Power at the Breaker
Locate the circuit breaker that controls your HVAC system and switch it to the OFF position. Do not simply turn the thermostat off — the wiring can still carry voltage if the breaker is live. Use a non-contact voltage tester (a small pen-shaped tool) near the thermostat wires to confirm no voltage is present before proceeding.
Remove the Old Thermostat and Document the Wiring
Remove the faceplate of your current thermostat (usually it unclips or unscrews). Before touching any wires, take clear photographs of every wire and its terminal label. Then, label each wire with a small piece of masking tape marked with its terminal letter (R, G, Y, W, C, etc.). This redundancy protects you if a wire slips back into the wall.
Loosen each terminal screw and carefully remove the wires one at a time. If any wire is very short or tends to retract into the wall, tie it temporarily around a pencil laid across the wall opening to keep it accessible.
Remove the Old Wall Plate and Prepare the Wall Opening
Unscrew the old thermostat's mounting plate from the wall. Inspect the opening: tuck any excess wire slack back neatly, and check for gaps around the wire hole that could cause drafts and affect thermostat readings. Use low-expansion foam or a wall plate with a built-in gasket to seal any significant gaps.
Mount the New Wall Plate and Connect the Wires
Feed the labeled wires through the new mounting plate and secure the plate to the wall using the included anchors and screws. Most plates mount directly to drywall with plastic anchors, or to electrical boxes if one is present.
Connect each labeled wire to the matching terminal on the new thermostat base, following both your labels and the new thermostat's wiring diagram. Tighten each terminal screw firmly — a loose connection is the top cause of post-installation problems. Do not overtighten; the wire should not be able to pull free with gentle pressure, but the screw shouldn't crush the conductor either.
Attach the Thermostat and Restore Power
Snap or attach the thermostat body onto the wall plate according to the manufacturer's instructions. Restore power at the breaker, then confirm the display powers on. Follow the thermostat's guided setup to select your system type (conventional, heat pump, etc.) and program your preferred temperature schedule.
Run a quick functional test: set the thermostat to call for heat (or cooling) and verify the system responds within a minute or two. Check for normal airflow at the registers and listen for the equipment cycling on and off correctly.
Troubleshooting Common Issues
If the system doesn't respond after installation, run through these checks before calling a professional:
- Thermostat display is blank
- Recheck that the breaker is on. Confirm the C-wire is firmly seated in the C terminal. Some thermostats also require batteries even when hardwired.
- Heat or cool won't turn on
- Verify each wire is in the correct terminal. A loose wire — one that appears seated but isn't making contact — is the most common culprit. Pull gently and re-insert.
- System runs continuously and won't shut off
- Check that no bare wire ends are touching each other or the wall plate, creating an unintended short.
- Error code on display
- Consult the new thermostat's manual. Error codes often point directly to a missing C-wire or a wiring mismatch.
If you've double-checked all wiring and the system still behaves unexpectedly, restore the original thermostat temporarily and contact a licensed HVAC technician. Some system configurations — particularly multi-stage heat pumps — can be tricky enough that professional setup is the practical choice.
This article provides general home improvement information and education. It is not a substitute for advice from a licensed electrician or HVAC technician. Always verify local permit and code requirements with your municipality before undertaking any home improvement work.
All published content on this website is for informational and educational purposes only and should not be taken as professional advice. We recommend that readers seek expert opinion before making any decisions. The website is not responsible for any actions taken based on the information provided on this website. We are not liable for any inaccuracies, modifications, or omissions in information. Moreover, external links or third-party content are provided for convenience; we are not liable for their correctness. Users are advised to verify every piece of information before they use it for any purpose.