
The Basics of Bookbinding: A Craft That Turns Paper Into Lasting Objects

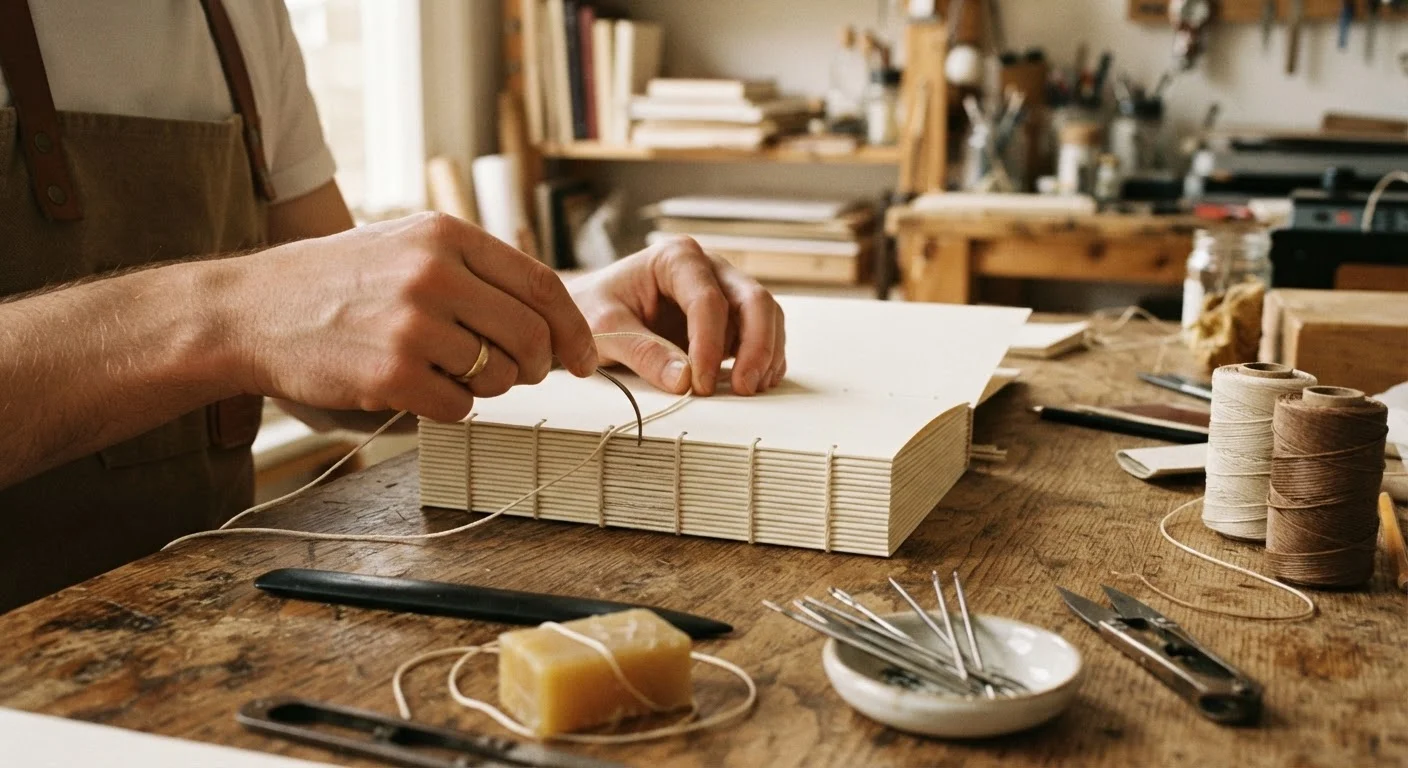
Bookbinding blends patience, precision, and creativity into a deeply satisfying craft. This introduction covers core techniques, materials, and first projects.
Start here
Why Bookbinding Is Worth Your Time
Learn the language
Core Concepts and Vocabulary
Gather your kit
Essential Tools and Materials
Make something
Your First Binding: The Pamphlet Stitch
Level up
Where to Go From Here
Key takeaways
- Bookbinding requires minimal startup costs and fits comfortably on a kitchen table.
- The pamphlet stitch is the ideal first project — it takes under an hour and teaches core principles.
- Grain direction, paper weight, and thread tension are the three variables beginners most often overlook.
- Handbound books can serve as journals, sketchbooks, or meaningful handmade gifts.
- Progressing from simple stitched booklets to hard-cover case binding is a natural and rewarding skill ladder.
Why Bookbinding Is Worth Your Time
In a world of endless scrolling and instant content, there is something quietly radical about spending an afternoon turning loose sheets of paper into a bound object that will outlast any app update. Bookbinding is one of those rare crafts where the learning curve feels steep from the outside but remarkably approachable once you sit down with the materials in hand.
Unlike woodworking or pottery — which often demand dedicated studio space and substantial tool investment — bookbinding fits on a dining table and travels in a tote bag. If you've been weighing which hands-on hobby actually fits your lifestyle, it's worth knowing that bookbinding sidesteps many of the friction points that make other crafts feel out of reach. For a broader comparison of craft options, see this guide to choosing a hands-on hobby.
The appeal goes beyond convenience. A handbound journal carries a tangible sense of authorship from the very first blank page. Bookbinding is meditative, tactile, and produces something genuinely useful — making it one of the more satisfying creative pursuits you can pick up as an adult.
Core Concepts and Vocabulary
Before your first stitch, a handful of terms will make tutorials and instruction books far less confusing.
Signature
A group of pages folded together as a single unit before sewing. Multiple signatures are often stacked and sewn together to form a full book.
Text block
All the interior pages of a book, assembled and (usually) sewn together, before the cover is attached.
Spine
The bound edge of a book where the pages are attached. It's the part you see when a book sits on a shelf.
Grain direction
The direction in which paper fibers predominantly run. For bookbinding, paper grain should run parallel to the spine to prevent warping and help pages lie flat.
Sewing station
A hole pierced through the spine fold of a signature where the needle and thread pass through. The position and number of stations determines the stitch pattern.
PVA glue
A flexible, archival-quality adhesive commonly used in bookbinding. It dries clear, remains slightly flexible, and won't cause pages to become brittle over time.
Understanding grain direction early on will save you considerable frustration. Paper has a grain — the direction in which most of its fibers run — and when grain runs perpendicular to the spine, pages resist lying flat and covers warp over time. A quick test: gently flex a sheet in both directions; it bends more easily along the grain. For a book spine, you want the grain running parallel to it.
Essential Tools and Materials
One of bookbinding's genuine pleasures is how modest the starter toolkit really is. Here is what you actually need to begin:
- Bookbinding needle: A blunt-tipped, large-eyed needle designed for thick thread. Curved needles are handy for some sewing styles but not required at first.
- Linen or waxed thread: Strong, slightly waxy thread that glides through paper without cutting it. Running plain thread over a block of beeswax achieves the same effect.
- Bone folder: A smooth, flat tool — traditionally made from bone, now often Teflon — used to crease paper cleanly without tearing fibers.
- Awl or bookbinding punch: For piercing sewing holes through folded paper. A pushpin works for practice but a proper awl gives cleaner holes.
- Cutting mat and metal ruler: Essential for straight, safe cuts when trimming pages or covers.
- PVA glue: Polyvinyl acetate glue is the standard bookbinding adhesive — flexible when dry and archival-quality.
For covers, cardstock, book board (a dense, heavy board also called binder's board), and decorative paper or book cloth are the most common choices. You can start with cardstock cut from cereal boxes to keep early experiments low-cost.
Start With Scrap Before Committing
Before cutting into your nicest paper or decorative book cloth, run through your first pamphlet stitch entirely with scrap materials. Copy paper, cereal box cardboard, and basic sewing thread are enough for a practice round. You'll catch muscle-memory errors — like inconsistent thread tension or misaligned holes — without wasting materials you actually care about.
Your First Binding: The Pamphlet Stitch
The pamphlet stitch is bookbinding at its most elemental — and it produces a real, functional booklet. Here is how the process flows:
- Fold your pages: Take five to eight sheets of your chosen paper and fold them together as a single unit. This nested group is called a signature. Crease firmly with your bone folder.
- Mark three sewing stations: Open the signature flat. Along the spine fold, mark three points — one at the center and one roughly an inch from each end.
- Pierce the holes: Using your awl, punch cleanly through all layers at each marked station. Work on a folded piece of scrap paper to protect your table.
- Sew the stitch: Cut a length of thread about three times the height of the booklet. Enter through the center hole from outside, pulling the thread in. Exit through the top hole, loop back in through the bottom hole, then exit again through the center — making sure the thread lies on either side of the long stitch you can now see along the spine.
- Tie off: Knot the two thread ends together at the center hole, trim the excess, and your booklet is done.
Add a slightly heavier piece of cardstock as a cover before sewing and you have a polished little journal, zine, or sketchbook. The whole process typically takes 30–45 minutes on a first attempt and noticeably less on the second.
Where to Go From Here
Once the pamphlet stitch feels natural, a world of increasingly complex structures opens up. The Coptic stitch is a popular next step — it creates exposed-spine books with pages that open completely flat, making it a favorite for sketchbooks and journals. The long stitch offers a similar open-spine aesthetic with a slightly different visual texture.
Beyond sewn bindings, case binding — the technique behind most commercially produced hardcover books — introduces book board, book cloth, and the satisfying process of attaching a sewn text block to a separate hard cover. It requires more steps and patience, but the result is indistinguishable from a professionally manufactured book.
Local bookbinding guilds, community college continuing education programs, and library maker spaces often run workshops that provide hands-on guidance and let you try equipment before investing in your own. Online video tutorials from working bookbinders offer an accessible supplement, particularly for visual learners who want to watch thread paths and glue application in real time.
The most important thing is simply to make your first imperfect pamphlet and see how it feels in your hands. The craft has a way of doing the rest of the persuading on its own.
Bookbinding Tutorial Videos (YouTube)
Numerous working bookbinders post detailed process videos on YouTube covering everything from basic pamphlet stitches to multi-signature Coptic bindings. Searching by technique name — such as 'Coptic stitch bookbinding tutorial' — returns well-structured results for visual learners.
Guild of Book Workers
A long-established US organization for bookbinding and book arts. Their website lists regional chapters, workshops, and exhibitions — a useful way to find in-person learning opportunities and connect with experienced binders in your area.
Non-Adhesive Binding by Keith Smith
A widely respected reference series for bookbinders that explores structural binding techniques in depth. Particularly useful once you've moved past the pamphlet stitch and want a systematic understanding of more advanced structures.
Frequently Asked Questions
All published content on this website is for informational and educational purposes only and should not be taken as professional advice. We recommend that readers seek expert opinion before making any decisions. The website is not responsible for any actions taken based on the information provided on this website. We are not liable for any inaccuracies, modifications, or omissions in information. Moreover, external links or third-party content are provided for convenience; we are not liable for their correctness. Users are advised to verify every piece of information before they use it for any purpose.